Multi-factor authentication
This guide shows you how to enable multi-factor authentication (MFA) for your Ory project.
- Ory Console
- Ory CLI
To enable MFA using the Console:
- Log in to your Ory Console
- Select your workspace and project
- Navigate to the Authentication tab
- Click on Two-factor auth in the sidebar
Configure One-Time Codes
In the Two-factor auth settings, you can enable and configure One-Time Codes for multi-factor authentication:
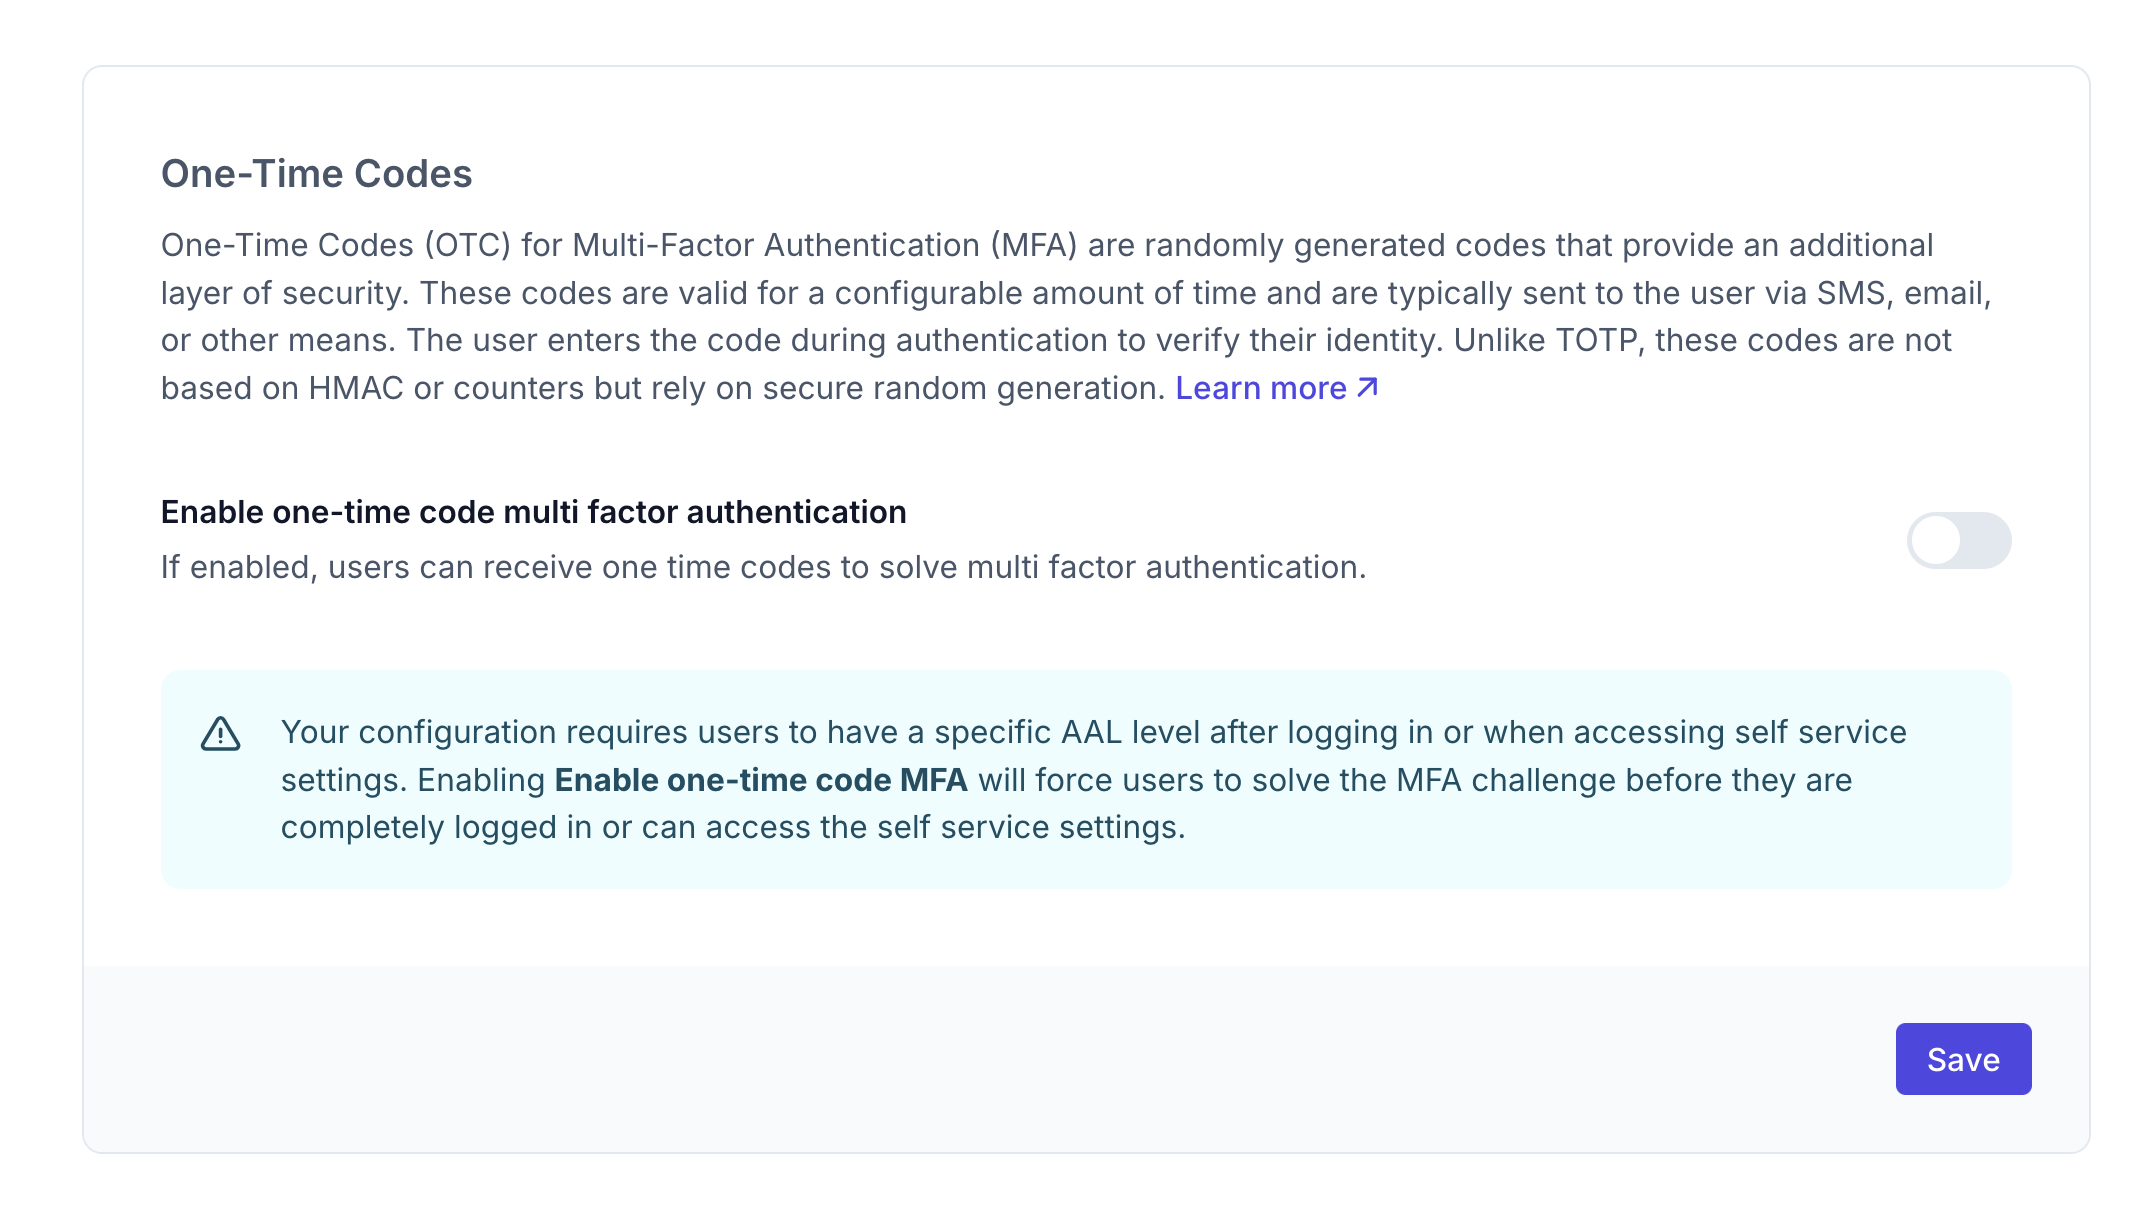
Toggle the "Enable one-time code multi factor authentication" toggle to allow users to receive one-time codes for MFA.
To enable MFA using the CLI:
- First, get your current identity configuration:
# List all available workspaces
ory list workspaces

# List all available projects
ory list projects --workspace <workspace-id>

# Get the configuration
ory get identity-config --project <project-id> --workspace <workspace-id> --format yaml > identity-config.yaml
- Edit the configuration file to enable One-Time Codes and set MFA requirements:
# Enable One-Time Codes for MFA
selfservice:
  methods:
    code:
      enabled: true # Enable the one-time code method
      mfa_enabled: true
- Update your configuration:
ory update identity-config --project <project-id> --workspace <workspace-id> --file identity-config.yaml
This configuration forces users to provide the highest authentication factor available to access their account settings. For example, users without a second factor configured can access settings after they sign in with their password, but users that have a second factor set up (such as a TOTP app) will need to complete the second factor challenge.
What users will see
When MFA is enabled, users will see a second authentication screen after logging in:
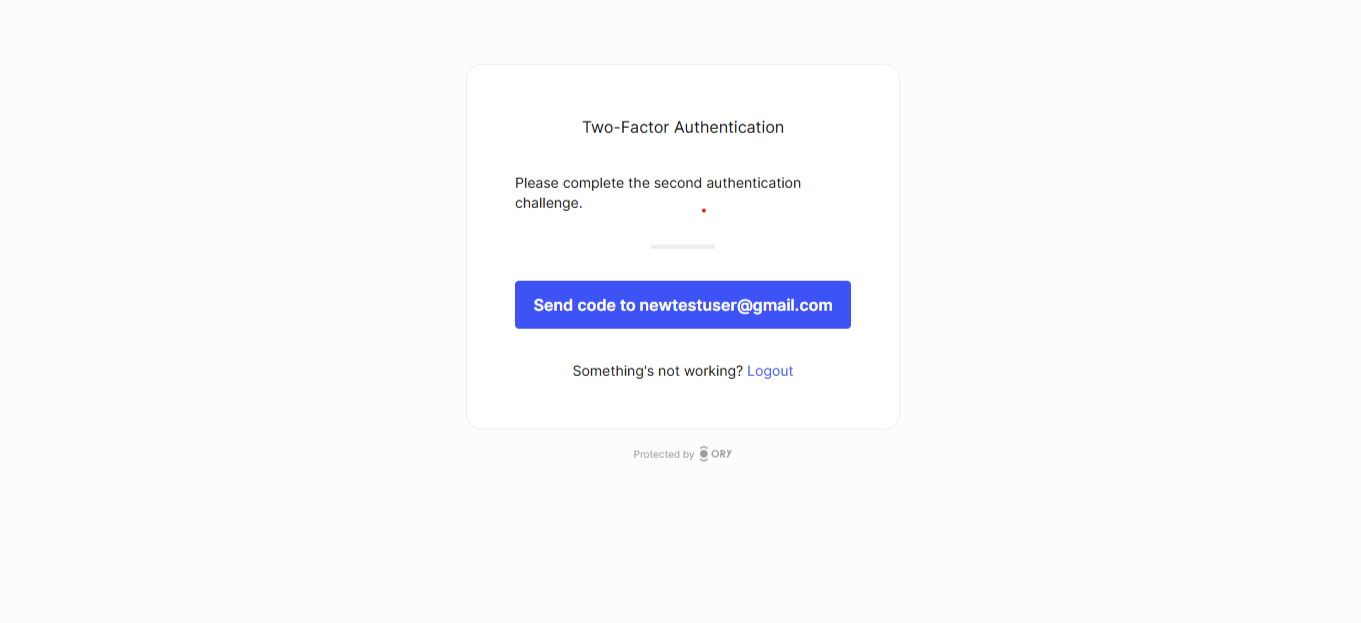
User flow
- The user enters their username/password or uses another primary authentication method
- They see the MFA challenge screen
- A one-time code is sent to their email
- After entering the valid code, they gain access to the application or protected settings